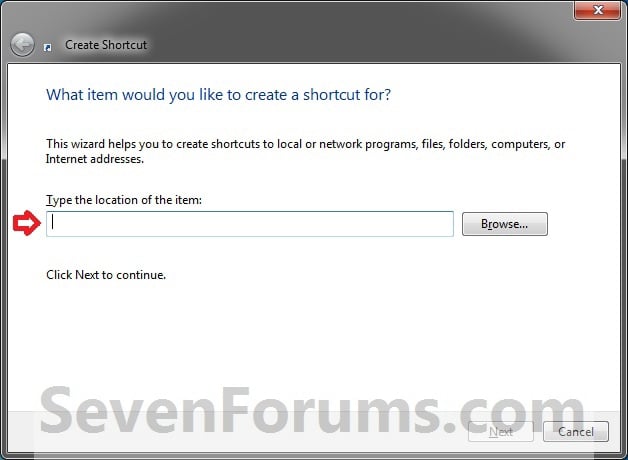
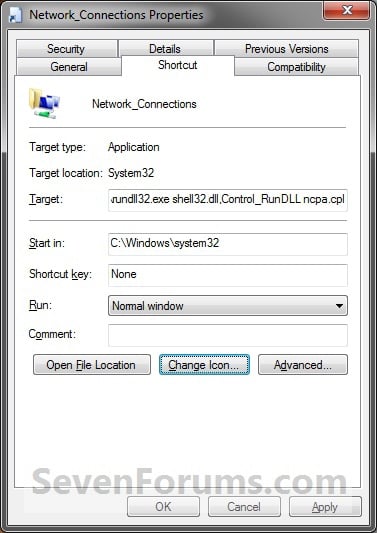
1. Right click on a empty area on desktop, and click on New and Shortcut. (See screenshot below)3. Type Network Connections for the name, and click on the Finish button. (See screenshot below)2. Type rundll32.exe shell32.dll,Control_RunDLL ncpa.cpl into the location area, and click on the Next button. (See screenshot below)
NOTE: You can name this anything you would like though.
4. Right click on the new Network Connections shortcut on the Desktop and click on Properties.
5. Click on the Shortcut tab, then click on the Change Icon button. (See screenshot below)
6. In the line under "Look for icons in this file", type C:\Windows\System32\netshell.dll and press Enter. (See screenshot below)
7. Select the icon highlighted in blue above and click on OK. (See screenshot above)
NOTE: You can use any icon that you would like instead though.
8. Click on OK. (See screenshot below)
9. Move the shortcut to where you like for easy use.


No comments:
Post a Comment